How to Clean Painted Kitchen Cabinets for a Fresh Look?
Keeping your kitchen cabinets clean is an essential part of maintaining a harmonious atmosphere in your home. When it comes to how to clean painted kitchen cabinets, beauticians like yourself may find relevance in cleanliness and aesthetics. In a busy world where beauty and functionality need a blend, knowing the best cleaning methods can elevate your kitchen space instantly.
Each cabinet type presents its unique challenges. But don't worry! This article will guide you through the steps you need to take for achieving sparkling clean painted cabinets, ensuring they not only look good but are also a safe space for your culinary creativity.

Understanding Your Painted Kitchen Cabinets
Before diving into the cleaning process, it is important to understand the material and finish of your painted kitchen cabinets. Many cabinets are painted with either oil-based or water-based paint. Identifying the finish helps you choose the right cleaning products and methods.
Why Cleaning Matters
Clean cabinets contribute to a beautiful and inviting kitchen. They improve hygiene, prevent damage, and maintain the paint's vibrancy. Frequent cleaning can also prolong the life of your cabinets. Dirty surfaces can harbor germs, stains, and odors that are counterproductive to an enjoyable cooking experience.

Tools and Materials You Will Need
Before beginning, gather your cleaning supplies. Here is a handy list:
- Baking soda
- White vinegar
- Spray bottle
- Microfiber cloth
- Soft sponge
- Wood safe cleaner
- Warm water
Step-by-Step Guide on Cleaning Painted Kitchen Cabinets
Now that you have your supplies, lets walk through the steps:
Step 1: Dust the Cabinets
Using a microfiber cloth, gently dust all the surfaces of your cabinets. This helps remove loose dirt and grime, preparing the surface for thorough cleaning.
Step 2: Choose Your Cleaner
For painted surfaces, a gentle cleaner is preferred. You can use a mixture of baking soda and vinegar or a commercial cleaner. Test it in an inconspicuous area to ensure it does not damage your paint.
Step 3: Apply the Cleaner
Using a soft sponge, apply the cleaner to a small section of the cabinet. Avoid harsh scrubbing as it may damage the paint. Work in sections, applying the solution, allowing it to sit for a minute.
Step 4: Wipe Clean
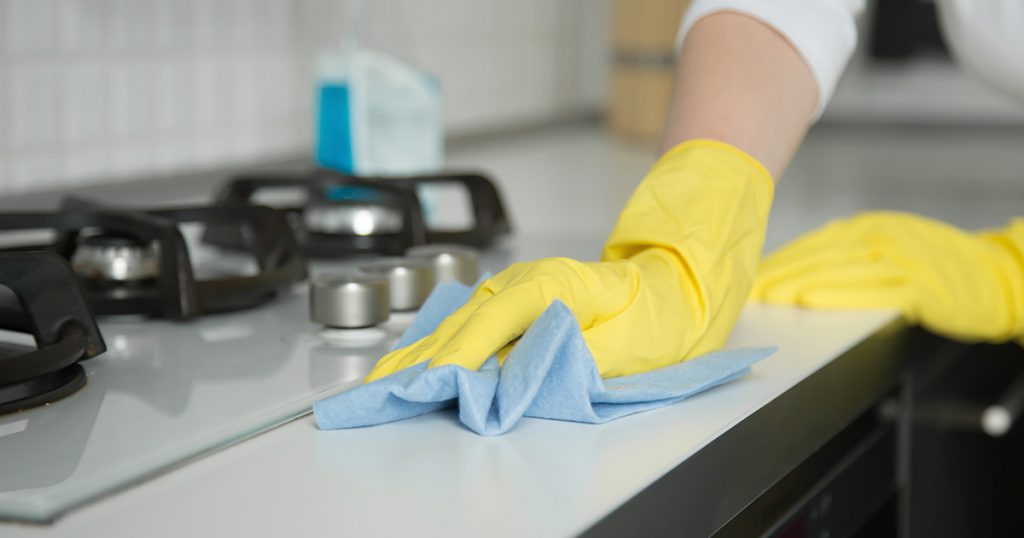
Use a clean, damp microfiber cloth to wipe off the cleaner. Ensure you remove all residues from the cabinets.
Step 5: Dry the Cabinets
Gently pat the cleaned areas dry with a dry cloth. This prevents water spots and further buildup of grime.
Special Considerations for High-Traffic Areas
In areas that receive more use, such as around the handles, consider using a more abrasive cleaner, but always test it first. Remember, the goal is to clean, not damage! A regular cleaning routine is advisable for these spaces.

Avoiding Common Mistakes
When it comes to how to clean painted kitchen cabinets, there are a few common mistakes you should avoid:
- Using harsh chemicals that can strip the paint.
- Ignoring scratches or stains to prevent more significant issues.
- Not testing cleaning solutions before applying them widely.

Maintaining Your Clean Cabinets
To keep your beautiful cabinets looking fresh, incorporate a quarterly deep cleaning routine into your schedule. For daily maintenance, a simple wipe with a damp cloth can make all the difference.
Additional Resources
For further cleaning tips, check out this comprehensive guide. More insights can help beauticians and homemakers alike maintain their kitchen aesthetics!
FAQs
What cleaners are safe for painted cabinets?
Use mild cleaners like baking soda, vinegar solutions or products specifically designed for painted surfaces.
How often should I clean my kitchen cabinets?
For best results, aim for a thorough cleaning every month, with quick wipe-downs weekly.
Can I use bleach to clean my cabinets?
Avoid bleach as it can discolor and damage the paint on your cabinets.
As an Amazon Associate, I earn from qualifying purchases.

